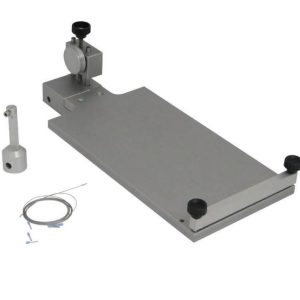
TAPPI T 822 Test Fikstürü
TAPPI T 822 – The ring crush test correlates with edgewise compression strength of paperboard (1,2).
Bilgi Almak İçin Lütfen Bizimle İletişime Geçiniz
- Açıklama
- Değerlendirmeler (0)
- TEKNİK ÖZELLİKLER
Açıklama
Açıklama
TAPPI T 822 Ring Crush of Paperboard (Rigid Support Method)
TAPPI T 822 – The ring crush test correlates with edgewise compression strength of paperboard (1,2).
TAPPI T 822 was originally developed for paperboard between 0.28 mm (0.011 in.) and 0.61 mm (0.024 in.) thick. It may be used with higher variability for paperboard
as thin as 0.18 mm (0.007 in.) and as thick as 0.76 mm (0.030 in.).
A significant fraction of the paper in use in the industry now falls below the 0.28 mm (0.011 in.) value.
TAPPI T 822 – Apparatus
4.1 Compression testing machine1 meeting the following requirements:
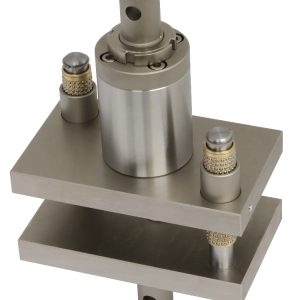
4.1.1 Rigid Support Compression Tester. Two platens, one rigidly supported and the other driven. Each platen shall have a working area of approximately 100 cm2
(16 in.2 ).
The platens are to have not more than 0.050 mm (0.002 in.) lateral relative movement, and the rigidly supported platen not more than 0.150 mm (0.006 in.)
movement, perpendicular to the surface, within a load range of 0 to 2225 N (0-500 lbf).
Within the specimen contact area, each platen shall be flat within 0.0025 mm (0.0001 in.) of the mean platen surface, and the platens shall remain parallel
to each other within 1 part in 2000 throughout the test.
4.1.2 A means for moving the driven platen to achieve an initial platen separation of at least 60 mm (2.36 in.).
Within a range of platen separation of 0 to 60 mm (0 to 2.36 in.) and within a load range of 0 to 2225 N (0 to 500 lbf), the nominal speed of the driven platen shall be
controllable at 12.5 mm ± 0.2 mm (0.50 in. ± 0.008 in.) per minute.
NOTE 2: For convenience, the test machine should be capable of rapid return and automatic, settable positioning.
4.1.3 A capacity of at least 2225 N (500 lbf).
4.1.4 A means of measuring and indicating the maximum load sustained by the test specimen within 2.2 N (0.50 lbf) or 1% error, which ever is greater.
4.1.5 An indicating mechanism that can be checked accurately with dead-weight load, load cell, or proving ring.
The accuracy required is 0.5% or 2.2 N (0.5 lbf), whichever is greater. 4.2 Specimen holder, having the following characteristics:
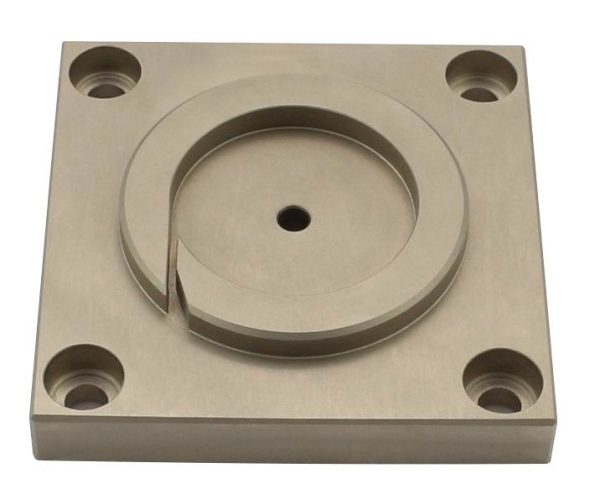
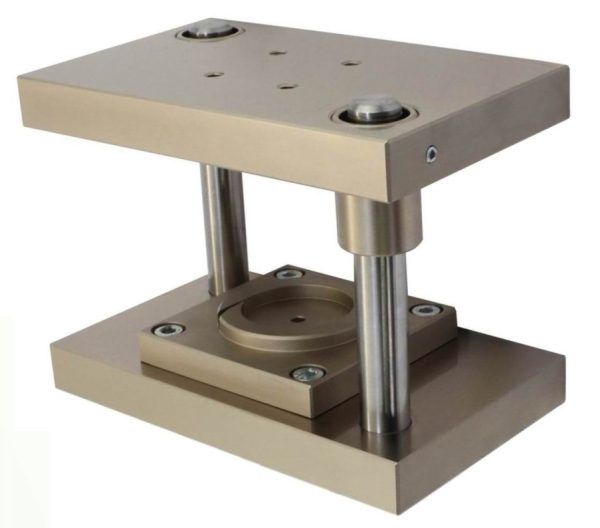
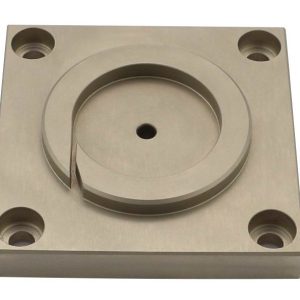
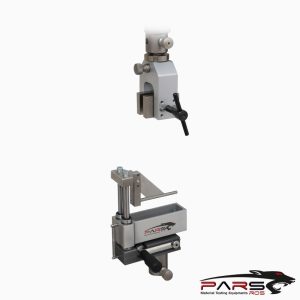
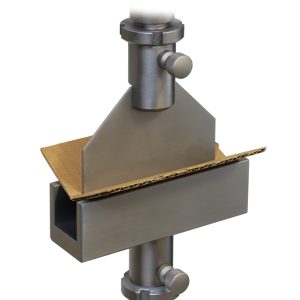
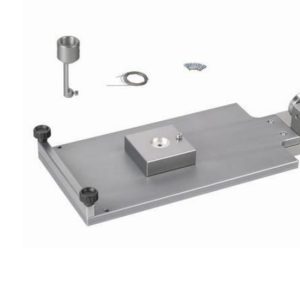
4.2.1 The specimen holder will be composed of a circular block having an annular square cut groove, 6.4 ± 0.25 mm (0.25 ± 0.01 in.) deep and 49.3 ± 0.035 mm
(1.940 ± 0.001 in.) outside diameter.
The bottom of the annular groove is required to be parallel with the base of the block ± 0.01 mm (0.0004 in.), with the sides of the groove at right angles with the
base of the block.
A branch groove tangent to the annular groove, of the same depth and extending to the edge of the block, is provided to insert the specimen and is not wider than
1.27 mm (0.050 in.) at its entrance to the annular groove.
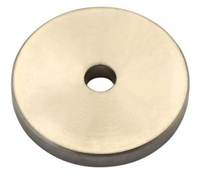
4.2.2 The center “island” created by the annular groove is removable and replaceable with disks of different diameters so that the width of the groove may be
adjusted to be at least 150% but not more than 175% of the nominal caliper of the specimen being tested.
Each disk has a central hole to fit a receiving pin central to the annular groove and is free to turn as the specimen is inserted through the branch groove.
4.2.3 Scribe or otherwise mark one point on the perimeter of the annular groove at some distance, at least 12.5 mm (0.5 in.) away from the branch groove.
This point will serve as the mark for the ends of the test specimen.
4.3 Precision die cutter, capable of accurately cutting the test specimens with clean parallel edges.
*** Before conducting TAPPI T 822 , it is important to read the entire specification. Standards can be obtained from appropriate standard authorities.
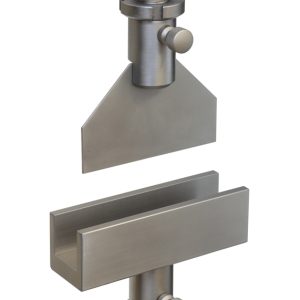
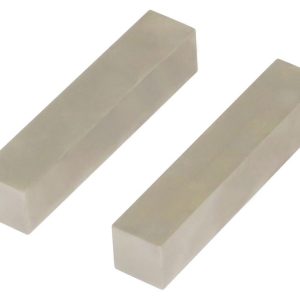
***PARSROS offers several types of grips and fixtures which will enable you to perform a variety of tests
that are accurate and repeatable.





Bir yanıt yazın