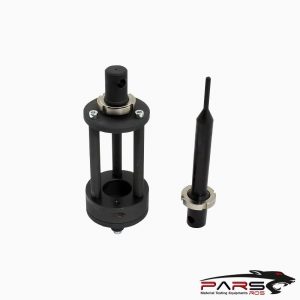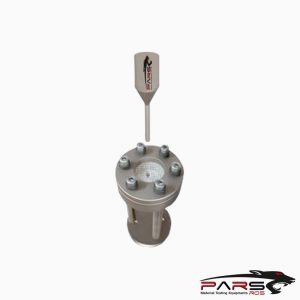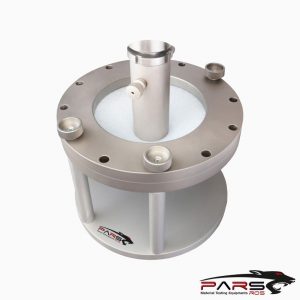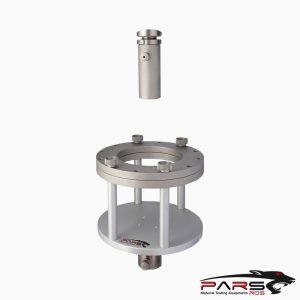
ASTM E643 – Standard Test Method for Ball Punch Deformation of Metallic Sheet Material
ASTM E643 – This test method covers the procedure for conducting the ball punch deformation test for metallic sheet materials intended for forming applications.
The test applies to specimens with thicknesses between 0.008 and 0.080 in. (0.2 and 2.0 mm).
Please Contact With Us For More Information
- Description
- TECHNICAL SPECIFICATIONS
Description
Description
ASTM E643 – Standard Test Method for Ball Punch Deformation of Metallic Sheet Material
ASTM E643 – This test method covers the procedure for conducting the ball punch deformation test for metallic sheet materials intended for forming applications.
The test applies to specimens with thicknesses between 0.008 and 0.080 in. (0.2 and 2.0 mm).
NOTE 1: The ball punch deformation test is intended to replace the Olsen cup test by standardizing many of the test parameters that previously have been left
to the discretion of the testing laboratory.
NOTE 2: The modified Erichsen test has been standardized in Europe. The main differences between the ball punch deformation test and the Erichsen test
are the diameters of the penetrator and the dies.
The ball punch deformation test is widely used to evaluate and compare the formability of metallic sheet materials.
Biaxial stretching is the predominant mode of deformation occurring during the test and, therefore, the results are most often used to rate or compare materials
that are to be formed mainly by stretching. However, precise correlations between the cup height as determined by this test and the formability of a sheet material
under production conditions have not been established.
ASTM E643 – Significance and Use
The ball punch deformation test is widely used to evaluate and compare the formability of metallic sheet materials.
Biaxial stretching is the predominant mode of deformation occurring during the test and, therefore, the results are most often used to rate or compare materials
that are to be formed mainly by stretching.
However, precise correlations between the cup height as determined by this test and the formability of a sheet material under production conditions have not been
established.
It is recognized that the cup heights for specimens from the same sample may vary with differences in magnitude of hold-down force, lubrication, and method of
end point determination.
The procedures described in Sections 5, 7.1, and 7.3 will minimize these variations.
Referenced Documents
ASTM Standards
ASTM E177 Practice for Use of the Terms Precision and Bias in ASTM Test Methods
ASTM E691 Practice for Conducting an Interlaboratory Study to Determine the Precision of a Test Method
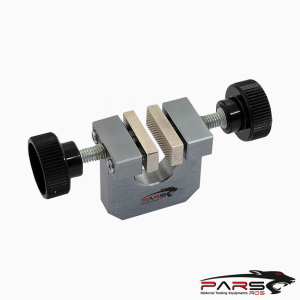
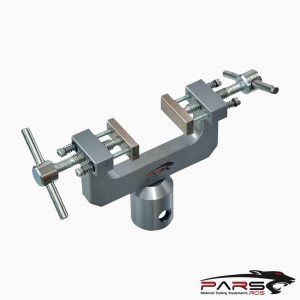
***PARSROS offers several types of grips and fixtures which will enable you to perform a variety of tests that are
accurate and repeatable.
TECHNICAL SPECIFICATIONS
Please contact with our engineers so that we can find and offer Best Universal Tensile Test Machines , Grips , Jaws and Other Accessories for your operations


